Often it is necessary to either repair damaged wiring or fabricate new wiring in support of some modification, such as an electric fan conversion. Several related tips and suggestions are described in this section.
Wiring Parts Sources
Here are a few of my favorite parts sources:
Eastern Beaver Hard to find
connectors and terminals with many that appear to be identical to the ones used
on CX/GL bikes.
Vintage Connections Hard to
find connectors and terminals, although most rectangular connectors will not
interchange with those on CX/GL bikes.
Waytek Electrical wiring
supplies especially useful for vehicle applications.
Digikey Huge selection of quality
electronic components.
Mouser Electronics Another large
electronic component supplier.
Crimped Terminals
In general, crimped terminals can be easily installed and replaced. This includes bullet and socket terminals, ring terminals, spade lugs, blade terminals inserted into rectangular connector shells, and probably a few others I've missed.
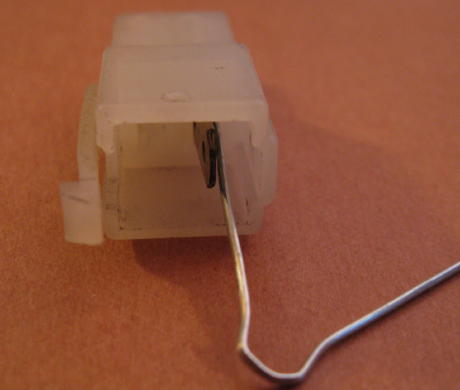
Blade terminals in rectangular connector shells can be removed by pressing
the locking tab on the side of the contact terminal and pulling it out from the
rear. Often a jeweler's screwdriver can be used. In this photo, a simple tool
was made by flattening the end of a cotter pin with a hammer.

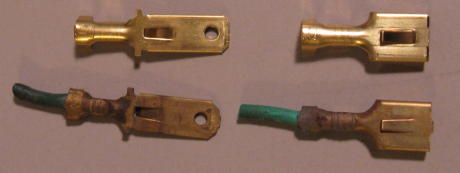
The
Yazaki
0.250 inch terminals from Eastern Beaver appear to be identical to ones
removed from a Honda rectangular connector.
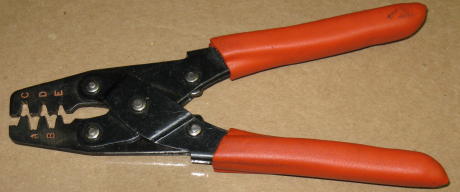
Professional quality crimp connections require use of a good crimp tool.
I've owned this one for many years; it appears that an equivalent tool can be
purchased
here.
I believe this is the model 1028 CT crimp tool manufactured by
Sargent Tool Company a.k.a.Rostra Tool
Company. It can be purchased from
MCM
Electronics or
Mouser
Electronics or
Great
Plains Electronics and many other distributors.
This terminal has just been crimped.
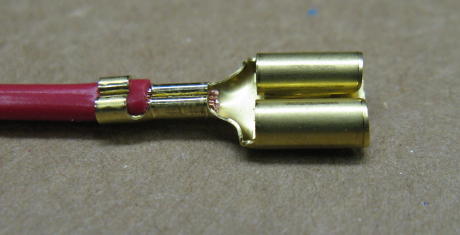
A high quality crimped connection does not require soldering. However, I
prefer to have some additional quality assurance so I usually crimp and solder.
When soldering, it is important to ensure the solder rosin does not flow into
the contact area as it is an insulator.
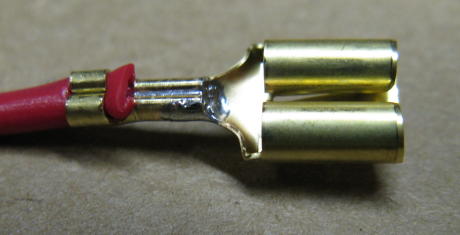
If a crimp tool is not available, long nose pliers can be used to bend the terminal tabs over although the overall quality is lower. In this case, soldering is essential in my opinion.
In all cases, a pull test should be performed. Gently tug on the wire to verify it is firmly attached to the terminal.
Although the example shown above is a 0.250 inch blade terminal, the technique is applicable to other crimped terminal types.
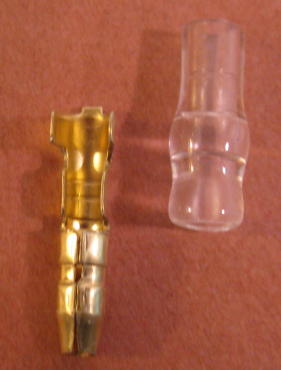
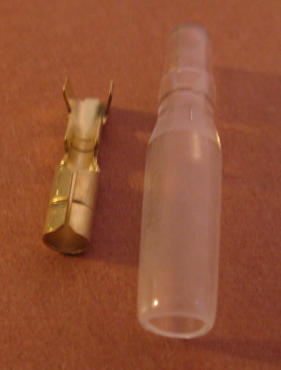
The SB2
3.5mm brass bullet terminals and the SS2 3.5mm brass socket terminals from
Vintage Connections fit mating CX/GL terminals perfectly and appear to be
nearly identical.
Wire Splices
As mentioned previously, an excellent tutorial for solder-splicing wires can be found here.
There is not much to add to the tutorial except for a heat-shrink tubing
recommendation. My preference is a polyolefin dual wall, 1/4 inch diameter,
1-1/4 length tubing segment, Waytek part number
22543.
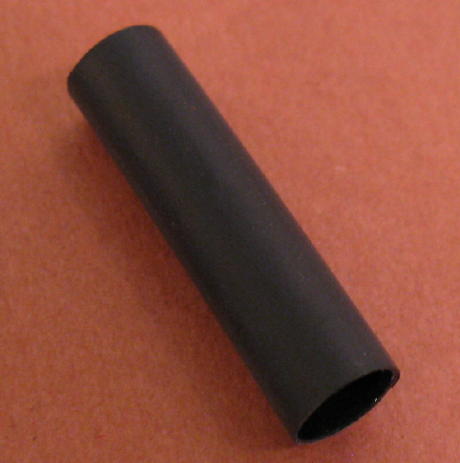
The size is almost perfect for general vehicle wiring. When heat is applied
and the tubing shrinks, an adhesive sealant is released that resembles hot melt
glue. This sealant provides additional environmental protection.
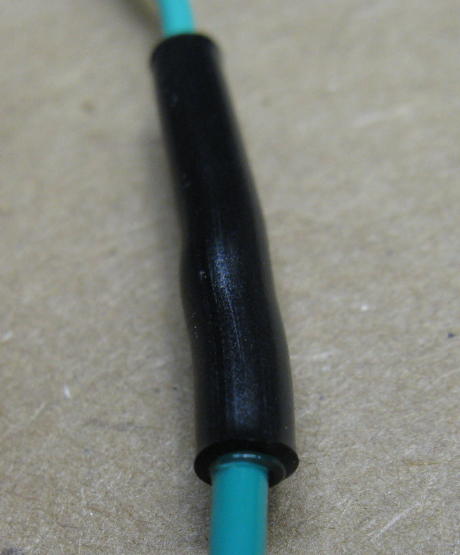
This tubing is extremely rugged, enough so that I only use one piece as opposed to the two pieces recomended in the solder-splicing tutorial.
Wire Covering
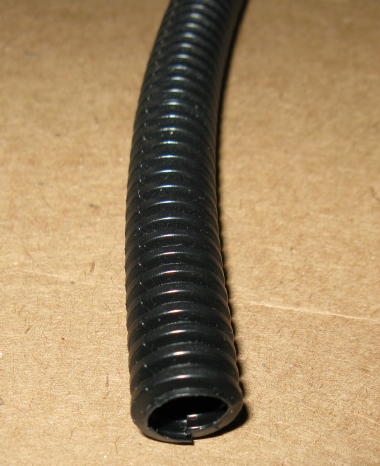
Corrugated wire loom is a convenient way to group wires together into a
harness. Varying levels of protection are available depending on the selected
material and thickness. For most general purpose applications, the Waytek
LCP-3500.35
inch I.D. polyethylene wire loom works well.
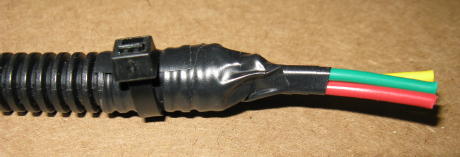
Electrical tape can be used at the ends to provide some stability and help
keep debris out of the loom. I like to use a plastic wire tie to prevent the
tape from unravelling.
Multimeter Usage
Main Fuse and Grounding
Charging Problems
Ignition Problems
DC Voltage Testing
Resistance Tests
Wiring Fabrication and Repairs
Stray Topics