Electric Fan Selection
Electric fans specifically designed for use in motorcycle cooling systems are readily available at a reasonable cost. In particular, many high quality used fans from wrecked bikes are continually listed on eBay.
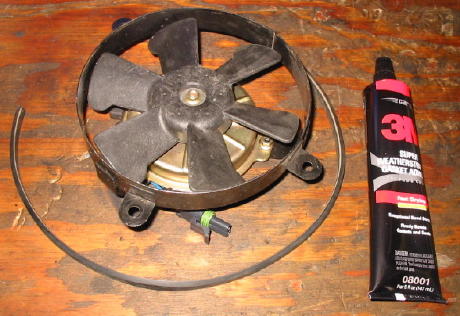
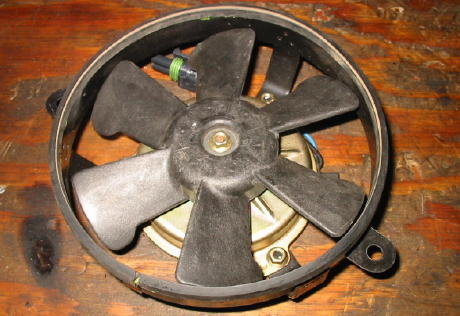
My preference is the flat Ducati fan seen in the installation photos that follow. This fan has excellent airflow performance, a comparatively low electric current drain, and a physical size and shape that ease installation problems. It also has conveniently located mounting tabs and a built-in shroud.
Mounting the Electric Fan
Several options exist for mounting the electric fan.
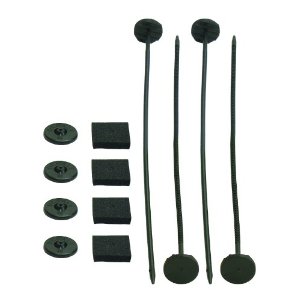
Perhaps the simplest and least expensive method is to attach it directly to
the radiator using a
Fan
Installation Kit. This kit mounts the fan to the radiator through the
radiator fins using plastic rods and pads.
In
this
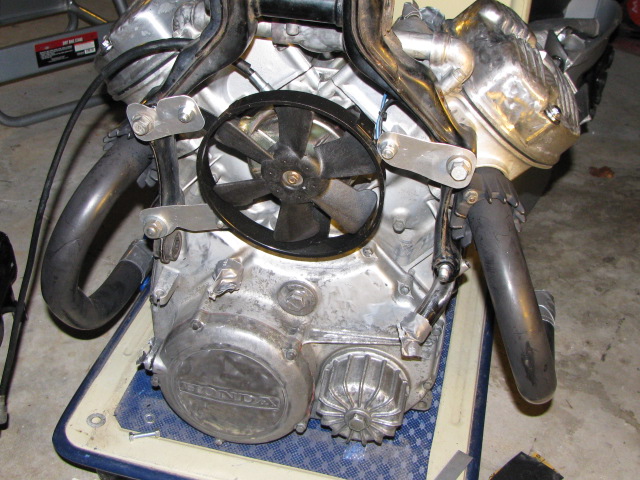
CX/GL forum thread, forum member Exploring/Carolina mounted a Ducati
fan to the front engine hanger studs using some scrap .040" 6061T6
aircraft sheet metal. This setup is simple in concept and sturdy. Nicely done!
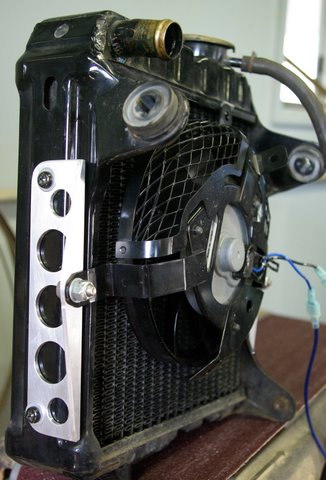
Others have mounted the fan to the radiator frame using metal brackets. This
fine example is from forum member kureus.
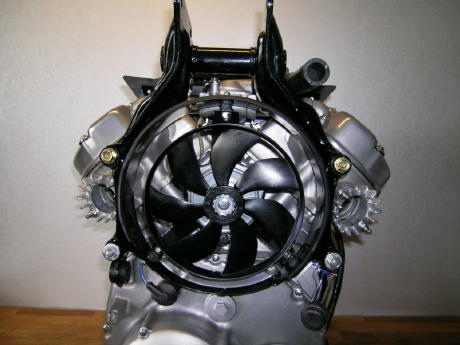
Here is a very innovative approach. Forum member MGR1 mounted the fan
to the original fan shroud using shock mounts.
My approach is described below. It was chosen based on what materials were already on hand - in this case some 1/2 inch square steel tubing and some flat 3/16 x 3/4 inch flat steel bar stock left over from previous projects.
Like most folks, I chose to discard the original fan shroud. The rubber seal
was removed from it and installed on the Ducati fan shroud using some
weatherstrip adhesive.
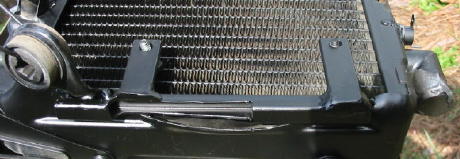
Both sides of the radiator frame were trimmed to provide clearance for the
new brackets to be attached.
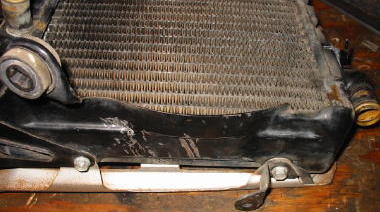
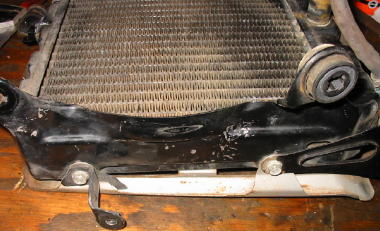
The Ducati fan was set into place on the radiator and the mounting brackets
were mocked up and tack welded.
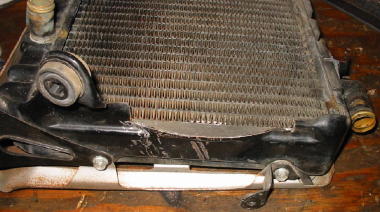
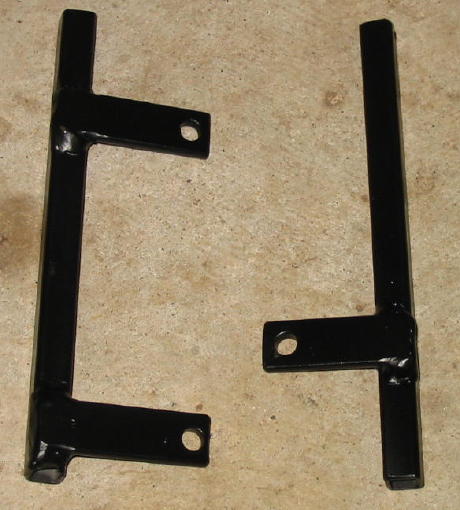
The brackets were then removed, welded properly, drilled, and painted.
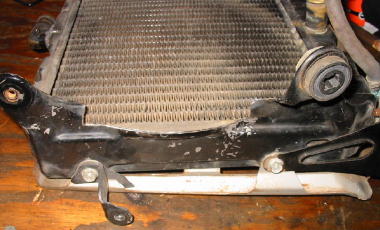
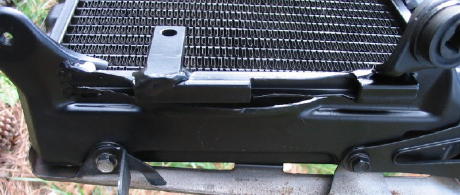
Next, the brackets were welded to the radiator frame using the Ducati fan to guide final placement.
Then test fitment of the radiator assembly on the bike and trimming the
brackets was accomplished. After several iterations there were no clearance
issues and a final coat of paint was applied.
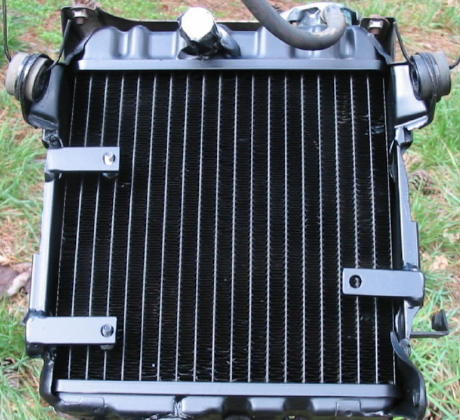
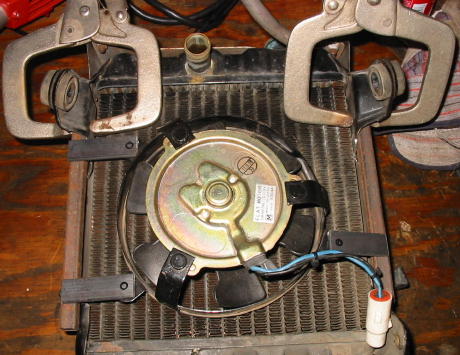
Finally the Ducati fan was bolted into place.
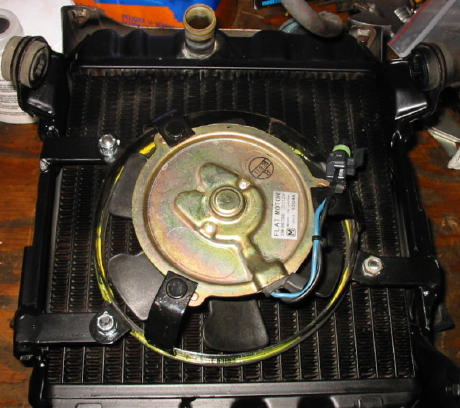
This mounting method is exceptionally sturdy and the fan is optimally placed. The fan can be easily replaced should that ever become necessary.
However, if the radiator ever needs replacement there will be some work involved in cutting off the brackets and installing them on the new radiator. If that should happen on a road trip I'll probably just use an inexpensive fan installation kit as described above to keep going.
Electric Fan Conversion Justification 500
only
Tachometer Cable Screw Replacement 500 and 650
Electric Fan Selection and Mounting 500 only
Camshaft Clearance Considerations 500 only
Fan Power Relay 500 and 650
500 Radiator Temperature Switch 500 only
650 Radiator Temperature Switch 650 only
Fan Always-On Modification 500 and 650